|
|||||||||
|
DISM Tool - Capture or append image |
|||||||||
|
You are here: Tutorials > DISM Tool - Capture or append image |
|||||||||
|
|
|||||||||
|
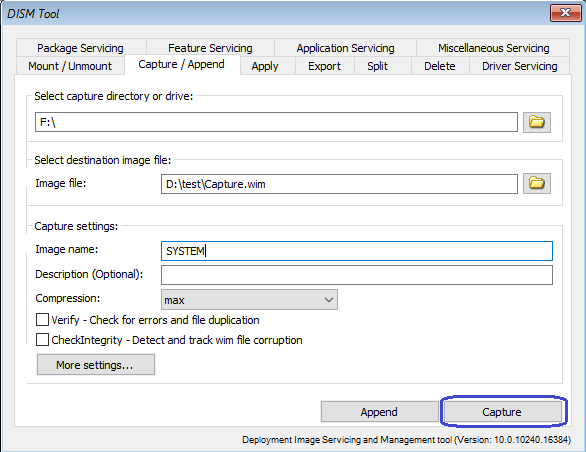
DISM Tool can capture an image of hard disk and save it as a Windows image file (*.wim). You can also append an image to an existing Windows image file. The image can be saved in compressed format. After you capture the image, you can modify it and apply it to a new drive. If you need capture a system drive which is used by current operating system, please boot the computer with Windows PE, and run PowerISO DISM Tool under Windows PE. To capture an image of hard disk, please follow the steps, Step1: Select "Capture / Append" page in DISM Tool dialog. Step2: Enter source capture drive or directory, for example, C:\ Enter the path name for destination WIM file. Enter the name for image. You may also enter a description for the image. Below are other settings for capture. You may change it if needed. Compression: specify the compression method for image. It can be none, fast, or max. Verify: Check for errors and file duplication. Check Integrity: Detect and track WIM corruption. You can get more settings by clicking "More settings...". Config File: Specify the location of a configuration file that lists exclusions for image capture and compress commands. Bootable: Mark a Windows PE volume image as able to be booted. WIM Boot: Capture the image that can be applied with WIMBoot configuration. NoRpFix: Disable the reparse point tag fix. Click "Capture" to start capturing an image of selected drive. You can also click "Append" to capture and append the image to an existing WIM file.
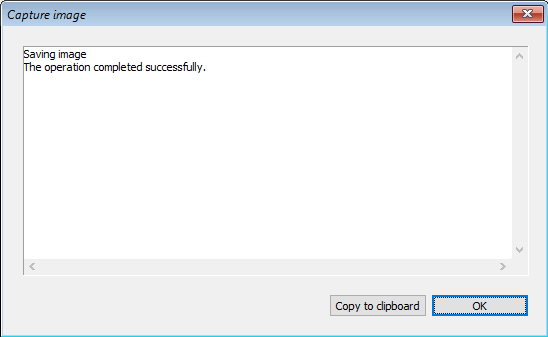
You will get the capture result message after the operation completes.
|
|||||||||
|
Copyright 2004-2025 PowerISO.com All rights reserved. |
|||||||||


