|
|||||||||
|
DISM Tool - Apply image |
|||||||||
|
You are here: Tutorials > DISM Tool - Apply image |
|||||||||
|
|
|||||||||
|
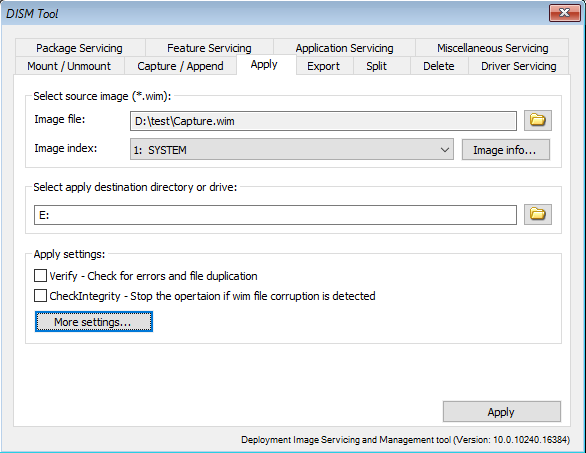
You can apply a captured image to a new destination drive or directory. Before applying, you need create structure of partitions on destination drive. To apply image to a new drive or directory, please follow the steps, Step1: Select "Apply" page in DISM Tool dialog. Step2: Click "Browse" button to select source WIM image file, and select the image index from the list. Enter the apply destination drive or folder.. Below are other settings for applying. You may change it if needed. Verify: Check for errors and file duplication. Check Integrity: Stop the operation if wim file corruption is detected. You can get more settings by clicking "More settings...". NoRpFix: Disable the reparse point tag fix. SWM File: Reference split WIM files (SWMs). <pattern> is the naming pattern and location of split files. Confirm Trusted File: Validate the image for Trusted Desktop. WIM Boot: Apply the image with WIMBoot configuration. Compact: Apply the image in compact mode. SFU File: reference split FFU files (SFUs). <pattern> is the naming pattern and location of split files. Skip Platform Check: Use this option if the FFU file being applied is targeted for a device other than the machine performing the application. A special FFU file is required. Click "Apply" to start applying the image to destination drive or folder.
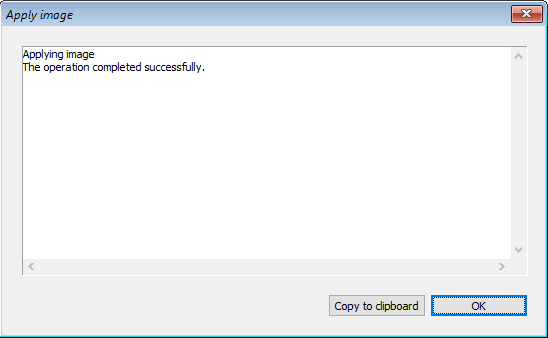
You will get the applying result message after the operation completes.
|
|||||||||
|
Copyright 2004-2025 PowerISO.com All rights reserved. |
|||||||||


